In this article I will guide you to create a User Profile Page using Elementor. There is an Edit Profile Action inside Actions After Submit section on your Elementor default Form widget. It’s quite similar to Registration and Login Action provided by Actions Pack plugin. Please follow the 8 steps described below to create a user profile page for your logged-in users using Elementor page builder.
- If you have not installed the Actions Pack Plugin you need to install it first.
- Create a profile page e.g yoursite.com/profile and edit it with Elementor.
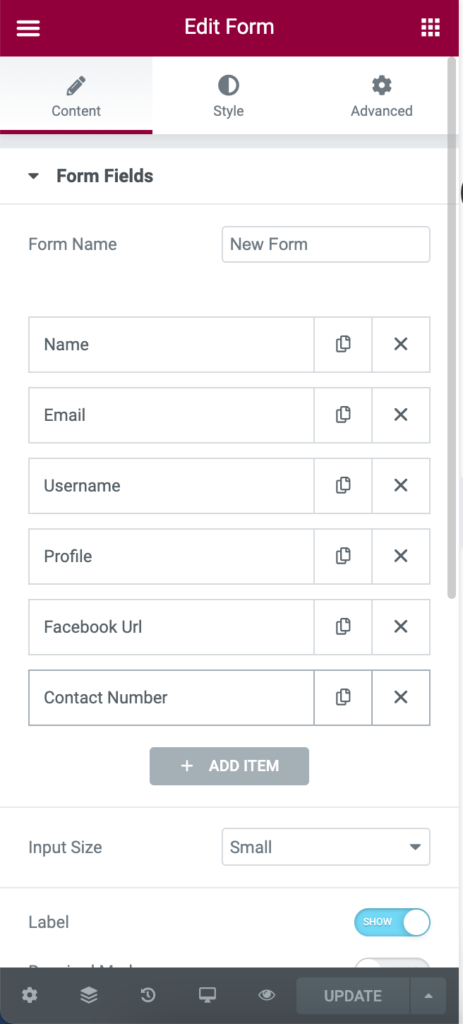
- Drag and drop the form widget to the page
- Create the form fields e.g First Name, Last Name, Mobile Number, Email, Password
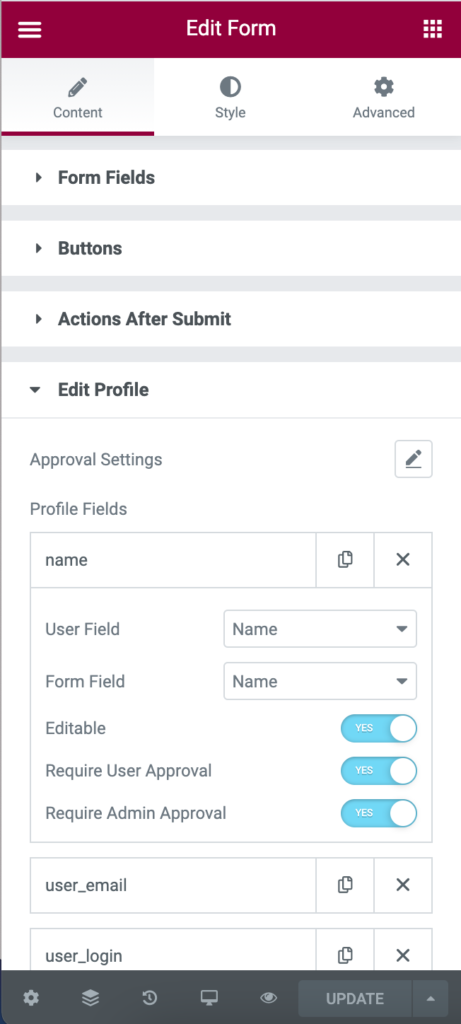
- In the Actions after submit select Edit Profile
- Map the appropriate form fields with the available user metas inside the Edit Profile Action. If any meta is not available you can select Custom Meta and put a meta name as you wish e.g user_profile_pic or user_address etc
- Disable the form cache by going to Advanced Tab -> layout -> Cache -> Inactive
- Save and publish the page
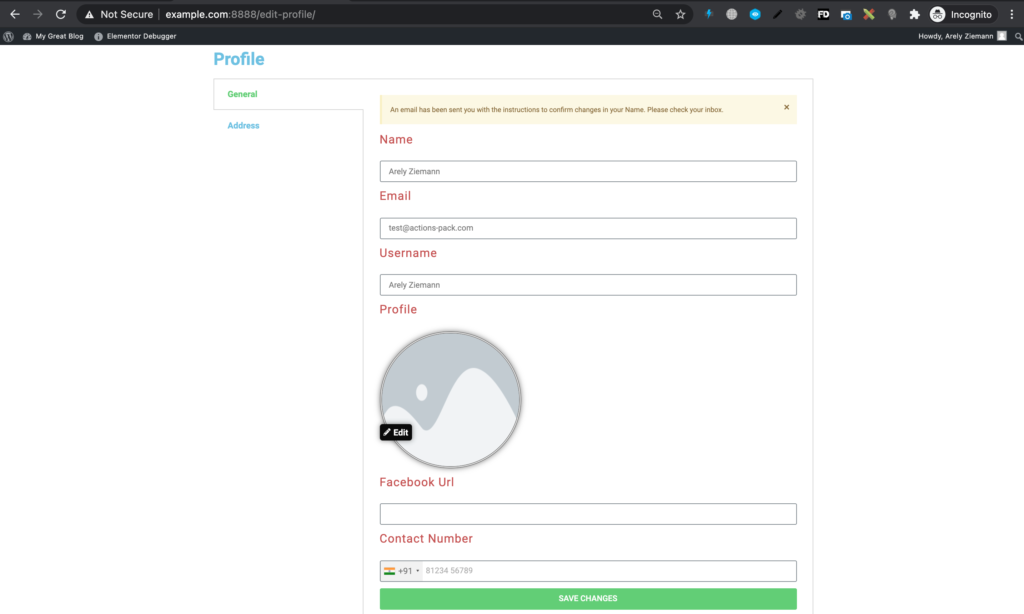
- Logout from your Admin user and login from a normal subscriber then visit yoursite.com/profile
Looking for an easy way of building a Fronted Edit Profile using Elementor?
Step-1 Enable Actions Pack for Elementor
Step-2 Download this template from here.
Step-3 Create a Page e.g yoursite.com/my-profile and edit with Elementor.
Step-4 Import the template downloaded previously.
Step-5 Modify the style to match your theme.
Step-7 Save and publish.
Glossary
Editable : If you disable it, a user won’t be able to edit that field. This is helpful for some fields e.g if you don’t want your user to edit their username.
Require User Approval : This option force users to approve any profile changes by clicking on a confirmation link sent to their Email. Changes in the respective field won’t be visible on the user profile until it is approved by the user.
Require Admin Approval : If you enable this option for any field and the field was updated or changed by the user, an approval link is sent to the admin’s email. The changes on the user’s profile won’t be visible until it is approved by the admin.
Approval Settings : Here you can edit the email template that is sent to the users or admin for approval on pending changes.
Screenshots
( Click on the images to zoom-in )
Frequently Asked Questions (FAQ)
How can I allow users to update their profile Picture?
You can add a form field of type file Upload and in advanced section enable the file Preview option. So that when a user upload an image it will be previewed instantly like we change our profile picture in Facebook or Linkedin. Then you need to create a custom meta and map the respective form field with it.
How to style user profile picture?
Go to Style tab => Additional Style => File Preview
How can I create public profile page for my users?
You need to create an archive template for that. Go to Elementor’s template section and create one archive template. Here you can drag and drop Heading Widget then set its value to Dynamic Tag -> Archive Meta. In the meta field you should enter the exact meta key that you had entered while creating the Profile Page initially. While publishing the page set it’s display condition to Author only. Now navigate to yoursites.com/authors/username. Similarly to display the profile image you can drag and drop an image widget and set its dynamic value.
As an admin, how can I access an individual user’s profile page?
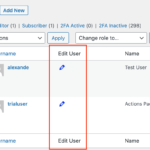
Go to Edit Profile Action -> Additional Settings -> Change Default profile URL -> enter the page you created earlier for user’s profile. E.g yoursite.com/profile. This will add a new Pencil Icon under Edit User column for each individual user inside your WordPress’s default users table e.g yoursite.com/wp-admin/users.php as shown on the image.
Most importantly this setting will also help you replace the Classic Edit profile page of a user that an individual user use to edit his/her profile with your newly created profile page using Elementor.
Elementor Frontend User Profile Templates
Download few more Elementor User Profile Templates for your ease. To use this templates, you must need Elementor, Elementor Pro and Actions pack plugins installed on your WordPress site. Sky is the limit. You can achieve any kind of style or add any number of user fields to your user frontend profile page. Simply create a WordPress page something like yoursite.com/profile and import one of these templates from below.
Tab Style User Profile
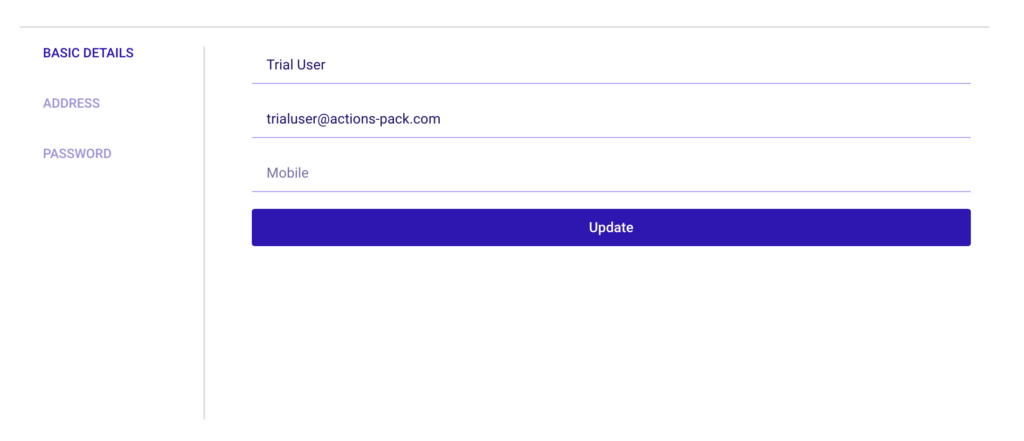
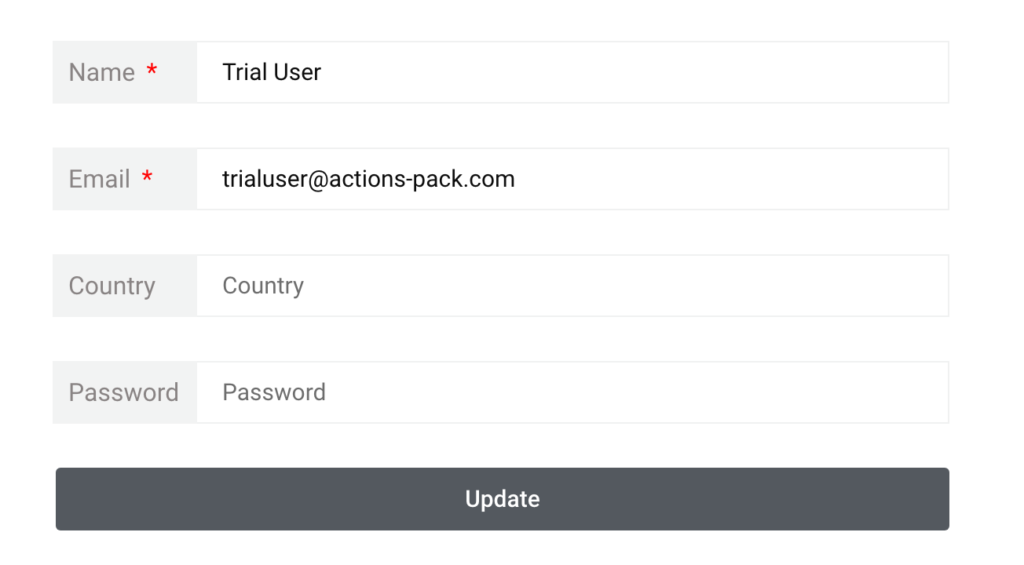
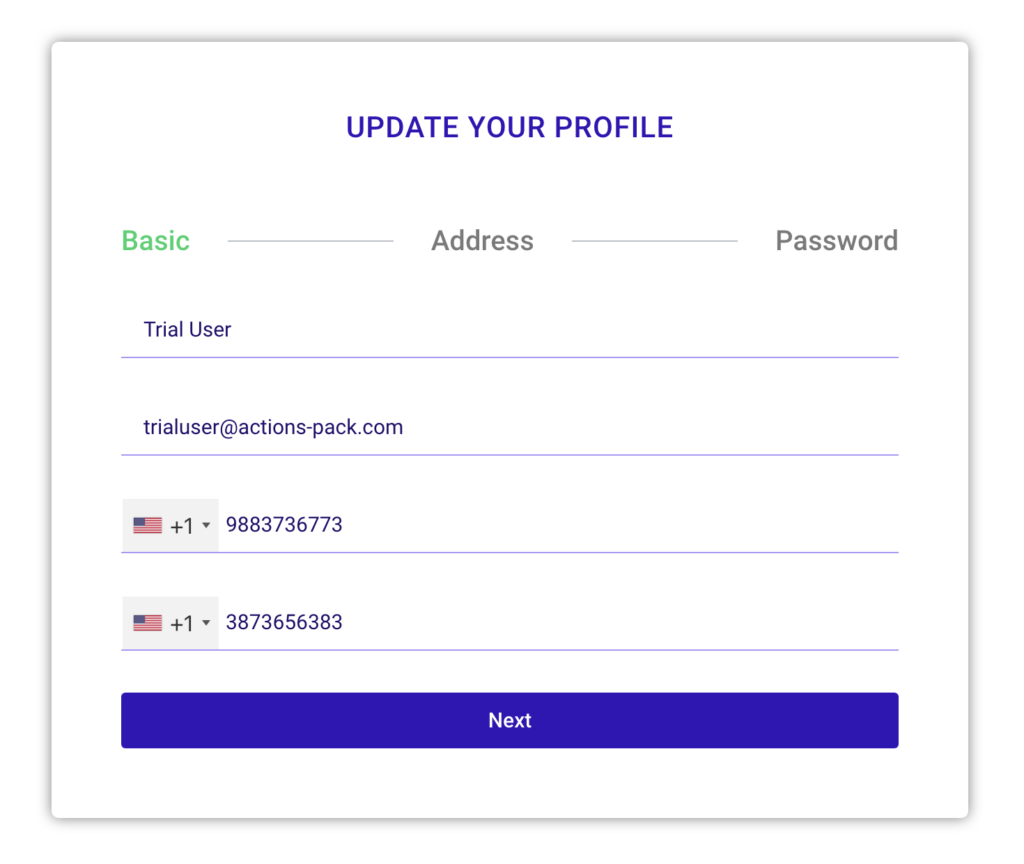
To create an advanced user profile with more than 10 fields, it is recommended to use a tab widget and segregate those user profile fields into multiple forms. This is more modern and user friendly way. Here you need to create separate forms e.g in below templates we have created 3 separate forms for Basic Details, Address and Password. Then you need to save them as templates and paste the shortcode inside corresponding tabs of the Elementor’s Tab widget. You can also follow this official user guide.

5 Responses
How can I make the user’s password editable on the profile page?
Hello. I would like to create a member directory based on the the profile infos entered in the Edit Profile I created with the above procedure and linked to the WordPress User section of the dashboard page. But I’m having hard time finding how to fetch those data. Actually, I can’t figure out where those profile infos go. Thanks in advance.
By the way, I added this comment while logged in (Action Pack Account), but for some reason, it didn't appear here. Sorry for the redundancy.
Hi, thank you for the documentation!
There is actually a bug I hope you can fix. When choosing "edit profile" and when ncluding the "edit user pass" as an action after submission, what happens is that if the user only changes email, the password is updated to something randomly which cause that the user is unable to login in. Many users got two emails after changing their emails, one notice confirms that the email address was changed and the second one is that the password was changed (when they haven't ).
Hello. I would like to create a member directory based on the the profile infos entered in the Edit Profile page I created with the above procedure. But I'm having hard time finding how to fetch those data. Actually, I can't figure out where those profile infos go. Sorry… Thanks in advance.
What do you mean by "the exact meta key you entered while creating the Profile Page initially"? I didn't enter any meta key. Where can I find it? Thank you.